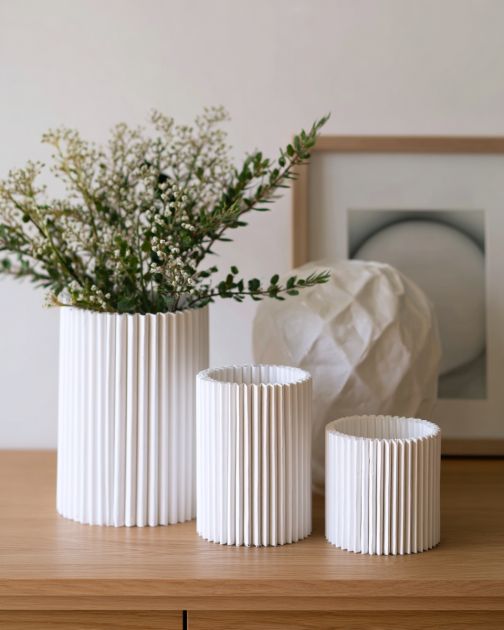
In the world of DIY crafts, creativity knows no bounds, and everyday items can be transformed into stunning pieces of home decor. One such item that has recently captured the imagination of crafters everywhere is the humble toilet paper roll. By wrapping these rolls with white glue, you can create a chic and functional fluted storage canister. This DIY project is not only an affordable way to upcycle materials you probably already have at home, but it’s also a fun and rewarding way to add a touch of elegance to your living space. Whether you’re looking to organize your desk, kitchen, or bathroom, this trend is sure to make a stylish statement.
This DIY fluted storage canister can be styled in various parts of your home to enhance its interior design. In the living room, place it on a shelf or side table to add an artistic touch while storing small items like remote controls or coasters. In the kitchen, it can serve as a chic holder for utensils or as a storage solution for tea bags and coffee pods. In the bathroom, it can be used to organize makeup brushes or cotton swabs. The neutral tones of the toilet paper rolls blend seamlessly with minimalist, Scandinavian, or rustic decor, but you can also paint the finished product to match your color scheme.
DIY Fluted Storage Canister
Materials
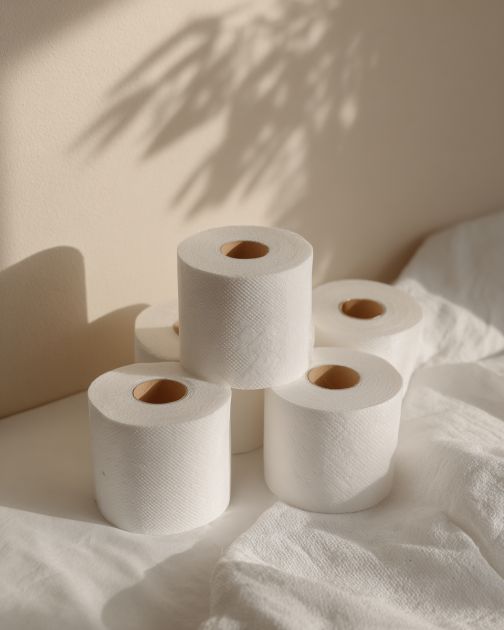
Empty toilet paper rolls (about 5-8, depending on desired height)
White glue (such as PVA glue)
A small container or bowl for mixing
Paintbrush or foam brush
Scissors
Ruler
Craft knife
A base for the canister (such as a cardboard circle or a sturdy lid)
Optional: paint or spray paint for finishing
Directions
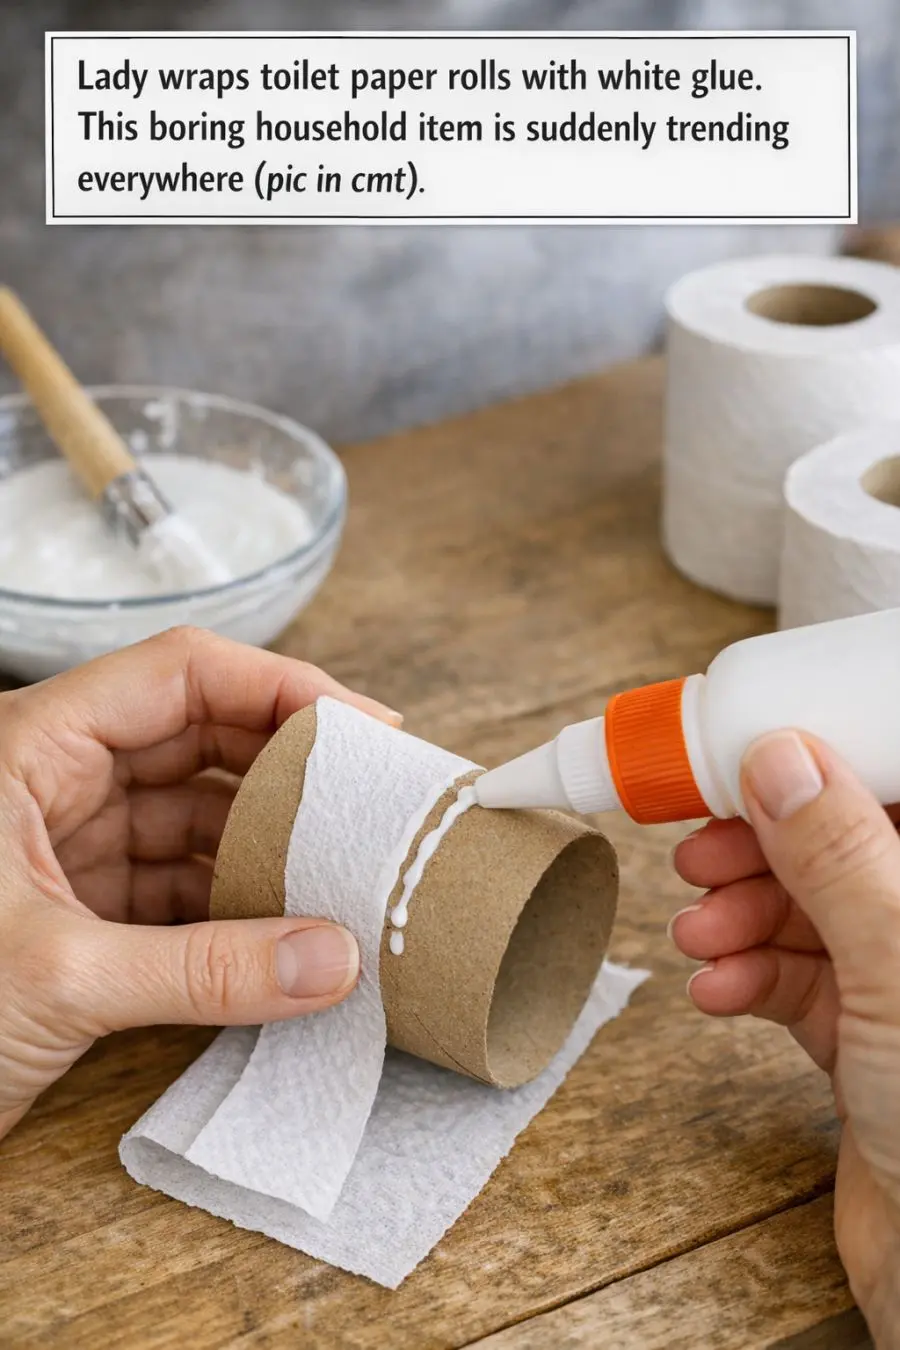
Start by cutting the toilet paper rolls into equal heights. Use a ruler and craft knife to ensure the cuts are straight and even.
In a container or bowl, mix white glue with a small amount of water to create a spreadable adhesive.
Using a paintbrush or foam brush, apply the glue mixture to the outside of each toilet paper roll.
Wrap each roll tightly with another layer of toilet paper or tissue paper, smoothing out any wrinkles or bubbles as you go.
Once wrapped, apply another layer of glue on top to seal and harden the paper. Let it dry completely.
Take your base (cardboard circle or sturdy lid) and arrange the dried, fluted rolls in a circular pattern, adhering them together with more glue.
Allow the entire structure to dry, ensuring the rolls are securely attached to the base.
Once dry, you can paint or spray paint the canister in your desired color to match your decor.
Let the paint dry completely before using the canister. Optionally, apply a clear sealant for added durability.
Variations & Tips
To add a personal touch to your fluted storage canister, consider experimenting with different colors and finishes. Use metallic spray paint for a glamorous look or bright, bold colors for a playful vibe. You can also vary the height of the toilet paper rolls to create a tiered effect or use paper towel rolls for a larger canister. For added texture, try wrapping the rolls with patterned tissue paper or fabric before sealing with glue. If you want a more durable canister, consider lining the inside with a thin layer of cardboard or felt. These variations allow you to customize the canister to suit your personal taste and home decor.
