Oatmeal is a beloved breakfast staple, known for its heartiness, nutritional benefits, and versatility. However, even the most experienced cooks have faced the dreaded moment when a seemingly perfect pot of oatmeal is left unattended, only to return to the sight and smell of a scorched disaster. It’s a common mishap that can turn a peaceful morning meal into a smoky ordeal.
Understanding what happens when oatmeal burns is crucial not only for rescuing breakfast but also for preventing future culinary calamities. Let’s delve into the chemistry of burnt oatmeal, how to salvage your meal, and the best practices to avoid this scenario altogether.
When Oatmeal Crosses the Line From Toasty to Totally Burned
Oatmeal is composed mainly of starch and water, with some natural sugars. When cooked, the water begins to evaporate, and the temperature inside the pot increases. If left unattended on high heat, the water evaporates too quickly, leaving the oatmeal to dry out and eventually burn. The bottom layer, in direct contact with the heat source, is most susceptible.
The key to preventing oatmeal from burning is to maintain a low to medium heat and stir frequently. This ensures even heat distribution and prevents the oatmeal at the bottom from sticking and scorching. A good rule of thumb is to use a 2:1 ratio of water to oats and to never leave the pot unattended for more than a minute or two.
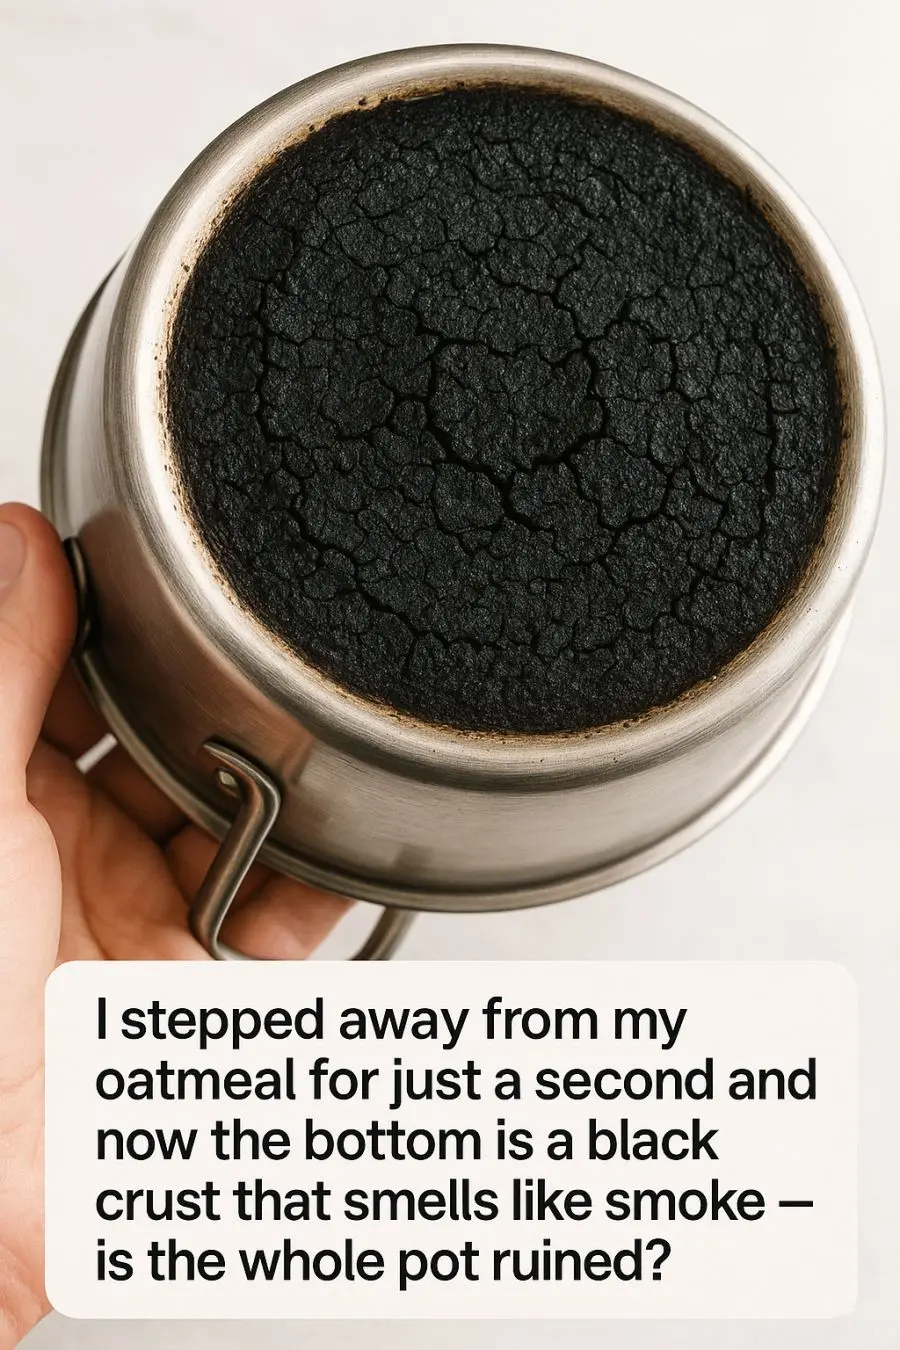
What That Black Crust Actually Is: Carbonized Sugars and Scorched Starch
When oatmeal burns, the starch and sugars undergo a process called caramelization, followed by carbonization. Caramelization occurs when sugars are heated, leading to browning and a complex flavor profile. However, when the heat continues, carbonization takes over, resulting in a black, crusty layer that is primarily composed of carbon.
This black crust is not only unappetizing but can also be quite difficult to clean. It’s important to understand that once the oatmeal has reached the carbonization stage, its flavor and nutritional value are compromised, making it largely inedible.
The Smell Test: How to Tell If the Whole Pot Is Ruined
The first and most apparent indicator of burned oatmeal is the smell. A smoky, bitter odor is a clear sign that the oatmeal has burned beyond repair. However, if the smell is mild, it may only be the bottom layer that is affected.
To perform a smell test, carefully stir the oatmeal from the top, avoiding the bottom crust. If the majority of the oatmeal smells normal and retains its creamy texture, you may be able to salvage it. If the entire pot smells burnt, it’s best to start over.
Stir-Down Strategy: Can You Salvage the Top Layer Safely?
If the top layer of oatmeal looks and smells okay, you can attempt to salvage it. Use a spoon to gently scoop out the top, avoiding the blackened bottom layer. Transfer the salvageable portion to a clean pot and add a splash of milk or water to restore its creaminess.
Reheat the oatmeal on low heat, stirring frequently to ensure even reheating. Adding fresh fruits or a dash of cinnamon can help mask any slight burnt taste that may have lingered.
When It’s Definitely a Lost Cause (And You Should Toss It)
If the entire pot of oatmeal is permeated with a burnt smell or taste, it’s unfortunately time to let it go. Consuming burned food can be unpleasant and potentially harmful due to the production of acrylamide, a compound formed when starchy foods are cooked at high temperatures.
In such cases, it’s best to cut your losses and start fresh. Remember, oatmeal is relatively inexpensive, and the time saved by starting anew is often worth more than trying to salvage an inedible breakfast.
Is It Safe to Eat Slightly Burned Oatmeal, or Just Unpleasant?
Slightly burned oatmeal that has only a minor burnt taste or odor is generally safe to eat, although it may not be as enjoyable. The main concern is the texture and flavor, which can be significantly altered.
However, when oatmeal is severely burnt, it should be avoided due to the potential presence of acrylamide, which has been linked to health risks in high amounts. It’s always better to err on the side of caution and discard oatmeal that has been extensively burned.
The Best Way to Rescue Breakfast Fast: Dilute, Transfer, and Reheat
To rescue slightly burnt oatmeal quickly, transfer the unaffected portion to a new pot. Add a little milk or water to dilute any burnt flavor and restore moisture. Reheat on low heat while stirring continuously.
Incorporating fresh ingredients like banana slices, berries, or a drizzle of honey can enhance the flavor and mask any residual burnt taste. This quick fix can help you salvage breakfast without much fuss.
Viral TikTok Hacks for Saving Scorched Porridge: What Works and What Doesn’t
Social media is full of creative hacks, some of which can be surprisingly effective. One popular TikTok suggestion is to place a slice of bread on top of the oatmeal to absorb any burnt odor. While this can work for mild cases, it won’t save oatmeal that is deeply scorched.
Another tip is to add a pinch of baking soda, which can neutralize some of the burnt flavors. However, use this sparingly, as too much can alter the taste of your oatmeal. Ultimately, prevention and quick action are the best solutions.
How to Get Rid of the Burnt Smell Lingering in Your Kitchen
Eliminating the burnt smell from your kitchen can be achieved through a few simple steps. Begin by ventilating the area—open windows and turn on fans to help dissipate the odor.
Simmering a pot of water with lemon slices, vinegar, or cinnamon sticks can also neutralize smells. These natural deodorizers work by releasing pleasant aromas that can overpower the burnt odor. Additionally, placing bowls of baking soda or activated charcoal around the kitchen can absorb lingering smells.
Deep-Cleaning the Pot: Hacks for Lifting That Black Carbon Crust
Once the oatmeal is salvaged or discarded, it’s time to tackle the pot. Fill the pot with water and a few tablespoons of baking soda, then bring it to a boil. Let it simmer for 10-15 minutes. The baking soda will help loosen the carbonized layer.
After boiling, let the pot cool slightly and use a non-abrasive scrubber to gently scrub away the black crust. For stubborn stains, a mixture of vinegar and baking soda can be applied to the affected area and left to sit before scrubbing again. Avoid using metal scrubbers, as they can damage the pot’s surface.
How to Prevent Burned Oatmeal Next Time: Heat, Liquid, and Timing
To prevent future oatmeal disasters, start by using the right amount of liquid. A 2:1 ratio of water to oats is recommended. Keep the heat on low to medium and stir frequently to ensure even cooking.
Set a timer to remind yourself to check on the oatmeal every few minutes, especially if you’re multitasking. Additionally, consider using a non-stick pot or a double boiler to minimize the risk of sticking and burning.
When to Switch to Overnight Oats or Microwave Methods Instead
If stovetop oatmeal continues to be a challenge, consider alternative methods like overnight oats or microwave cooking. Overnight oats require no cooking and can be prepared the night before, offering a convenient and foolproof option.
For quick mornings, microwave oatmeal is another great choice. It requires less supervision and can be ready in just a few minutes. Whichever method you choose, adjusting your routine can help ensure a stress-free and delicious breakfast experience.
