Hydrangeas are beloved for their lush, voluminous blooms that bring vibrant color to gardens throughout the summer. However, as the cold months come to an end, many gardeners find themselves wondering if their hydrangeas will awaken from dormancy to produce the spectacular blossoms they’re known for. Dormancy is a natural part of a hydrangea’s life cycle, and with the right care and attention, you can ensure your plants not only wake up but thrive, rewarding you with massive blooms.
Understanding the specific needs of your hydrangeas is crucial to reviving them from their winter slumber. From assessing whether your plants are truly dormant to implementing the best practices for pruning and fertilizing, this guide will provide you with all the tricks you need to coax your hydrangeas back to life. With these steps, your garden will be bursting with magnificent flowers come summer.
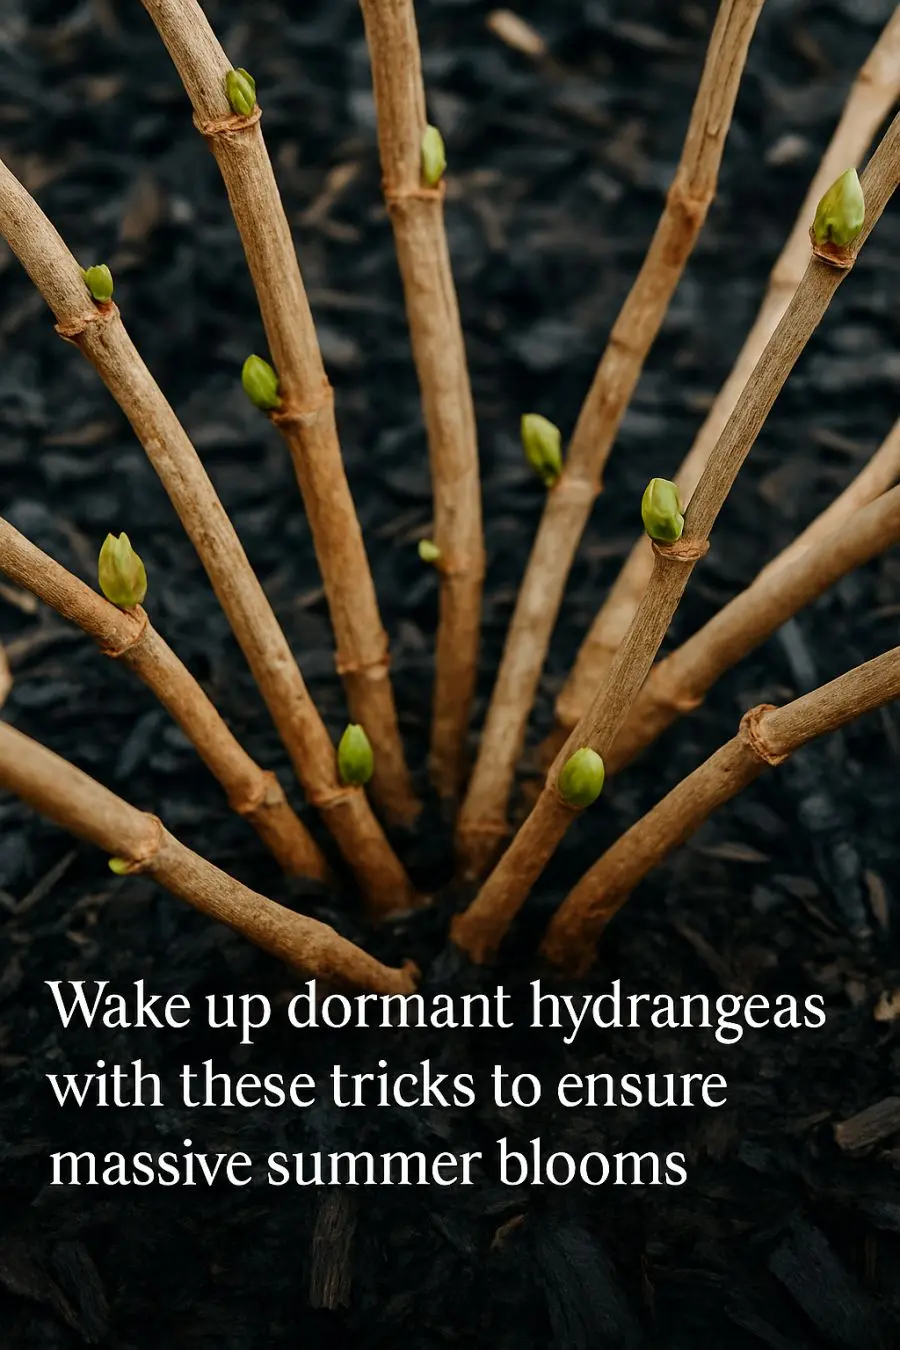
1. Confirm Your Hydrangeas Are Dormant, Not Dead
Before you begin any revival efforts, it’s important to determine whether your hydrangeas are merely dormant or if they have perished. Dormant hydrangeas will have stems that are firm to the touch, even if they appear brown and lifeless on the surface. Check for signs of life by inspecting the base of the plant where new shoots may begin to emerge as temperatures rise.
To further confirm dormancy, inspect the stems for pliability. Bend them gently; a live stem will be flexible and resist breaking. Dead wood will snap easily. Remember that hydrangeas can be late bloomers, so patience is key. By mid-spring, you should see signs of budding if the plant is still alive.
2. Use the Fingernail Scratch Test to Check for Green Life
One simple way to check if your hydrangea is still alive is to perform the fingernail scratch test. Use your fingernail or a small knife to gently scratch the bark on a stem or two. If you see green tissue underneath, the stem is alive, and the plant is likely dormant.
Perform this test on several stems to get an overall idea of the plant’s health. If the scratch test reveals brown or dry tissue, that part of the plant might be dead. In that case, prune away the affected areas to encourage new growth.
3. Prune the Right Way for Your Hydrangea Type
Pruning is essential for hydrangea care, but it must be done according to the type of hydrangea you have. For example, bigleaf hydrangeas (Hydrangea macrophylla) bloom on old wood, so they should be pruned immediately after flowering in the summer. Pruning them in the spring may remove the buds and reduce blooms.
On the other hand, panicle hydrangeas (Hydrangea paniculata) and smooth hydrangeas (Hydrangea arborescens) bloom on new wood. These can be pruned in late winter or early spring before new growth begins. Use sharp, clean pruning shears to remove dead or damaged wood and shape the plant as desired.
4. Wake Up Roots With Deep, Slow Spring Watering
As temperatures rise, it’s time to encourage your hydrangeas to emerge from dormancy with regular watering. Water deeply and slowly, allowing the moisture to penetrate the soil and reach the roots. This can be achieved by letting a hose trickle at the base of the plant for about 30 minutes once a week.
Ensure the soil is consistently moist but not waterlogged, as hydrangeas are susceptible to root rot. Mulching around the base can help retain moisture and maintain even soil temperatures.
5. Jump-Start Growth With a Balanced, Timed Fertilizer Boost
Providing your hydrangeas with a well-balanced fertilizer can give them the nutrients they need to start growing vigorously. Choose a slow-release fertilizer with equal parts nitrogen, phosphorus, and potassium, such as a 10-10-10 or 14-14-14 mix.
Apply the fertilizer in early spring, just as new growth begins. Follow the package instructions for the correct amount based on your plant size and age, and evenly distribute the fertilizer around the drip line of the plant to avoid burning the roots.
6. Warm the Soil With Mulch, but Don’t Smother the Buds
Mulching is a great way to insulate the soil and retain moisture for your hydrangeas. Use organic mulch such as shredded bark or pine needles to cover the ground around your plants, keeping it about 2-3 inches deep.
Avoid piling mulch directly against the stems, as this can lead to rot and pest issues. Instead, leave a small gap around the base to allow air circulation and prevent smothering any emerging buds.
7. Use Strategic Sun Exposure to Gently Break Dormancy
Hydrangeas generally prefer morning sun and afternoon shade, but during the early spring, a bit more sunlight can help break dormancy. If possible, trim any overhanging branches that might block sunlight and reposition potted hydrangeas to sunnier spots.
Be cautious not to expose them to too much direct afternoon sun, which can scorch the leaves. Finding the right balance of light will vary depending on your climate and the specific needs of your hydrangea species.
8. Revive Container Hydrangeas With Root Refresh and Repotting
Container-grown hydrangeas may need a bit of extra care to wake up and thrive. Start by gently removing the plant from its pot and inspecting the roots. If the roots are circling the pot or appear congested, it’s time to refresh them.
Trim away any dead or overly long roots, and repot the hydrangea into a slightly larger container with fresh, high-quality potting mix. Ensure the new pot has good drainage to prevent waterlogging.
9. Try Viral Coffee-Ground and Eggshell Tricks—The Safe Way
Coffee grounds and eggshells are popular home remedies for boosting plant health, and they can be used with hydrangeas as well. Coffee grounds add nitrogen to the soil, while eggshells provide calcium.
Use these amendments sparingly—just a thin layer of coffee grounds around the base of the plant and crushed eggshells mixed into the soil. Too much can alter soil pH and nutrient balance, so moderation is key.
10. Use Epsom Salt and Compost Tea to Fuel Bigger Blooms
Epsom salt, rich in magnesium, is often used to encourage flower production. Dissolve 1 tablespoon of Epsom salt in a gallon of water and use it to water your hydrangeas once a month during the growing season.
Compost tea, another gardener favorite, can provide a nutrient-rich boost. Soak a bag of compost in water for a day or two, then use the liquid to water your plants. This organic fertilizer can help increase blooms and improve overall plant health.
11. Protect Swelling Buds From Late Frost Shocks
Late frosts can be devastating to hydrangeas, especially as buds begin to swell in spring. Keep an eye on weather forecasts and be prepared to protect your plants with frost cloths or old blankets on particularly cold nights.
Cover the plants in the evening, making sure the cover extends to the ground to trap warmth. Remove the covering in the morning once temperatures rise, to prevent overheating and ensure they receive sunlight.
12. Train and Support Stems Now for Massive Summer Flower Heads
As hydrangeas grow, their large, heavy blooms can cause stems to droop or even break. Early spring is the best time to start training and supporting these stems. Use plant supports, such as stakes or cages, to encourage upright growth.
Gently tie stems to the supports with soft garden ties to avoid damaging them. Regularly check and adjust the ties as the plant grows to ensure they are not too tight.
13. Color-Hacking: Adjust Soil pH Early for Blue or Pink Blooms
Hydrangea color can be influenced by soil pH. For blue blooms, the soil needs to be more acidic (pH 5.2-5.5), while pink blooms require more alkaline conditions (pH 6.0-6.2).
To lower soil pH, apply garden sulfur or aluminum sulfate according to package instructions. To raise pH, add lime. Start these adjustments in early spring to give the amendments time to take effect before blooming season begins.
14. Rescue Stressed Hydrangeas With Shade Cloth and Anti-Stress Care
If your hydrangeas show signs of stress, such as wilting or yellowing leaves, they might need additional protection. Use a shade cloth to filter intense sunlight and reduce heat stress.
Additionally, consider anti-stress treatments such as plant tonics or foliar sprays designed to help plants recover from environmental stress. Ensure your hydrangeas have adequate water and nutrients to support their recovery.
