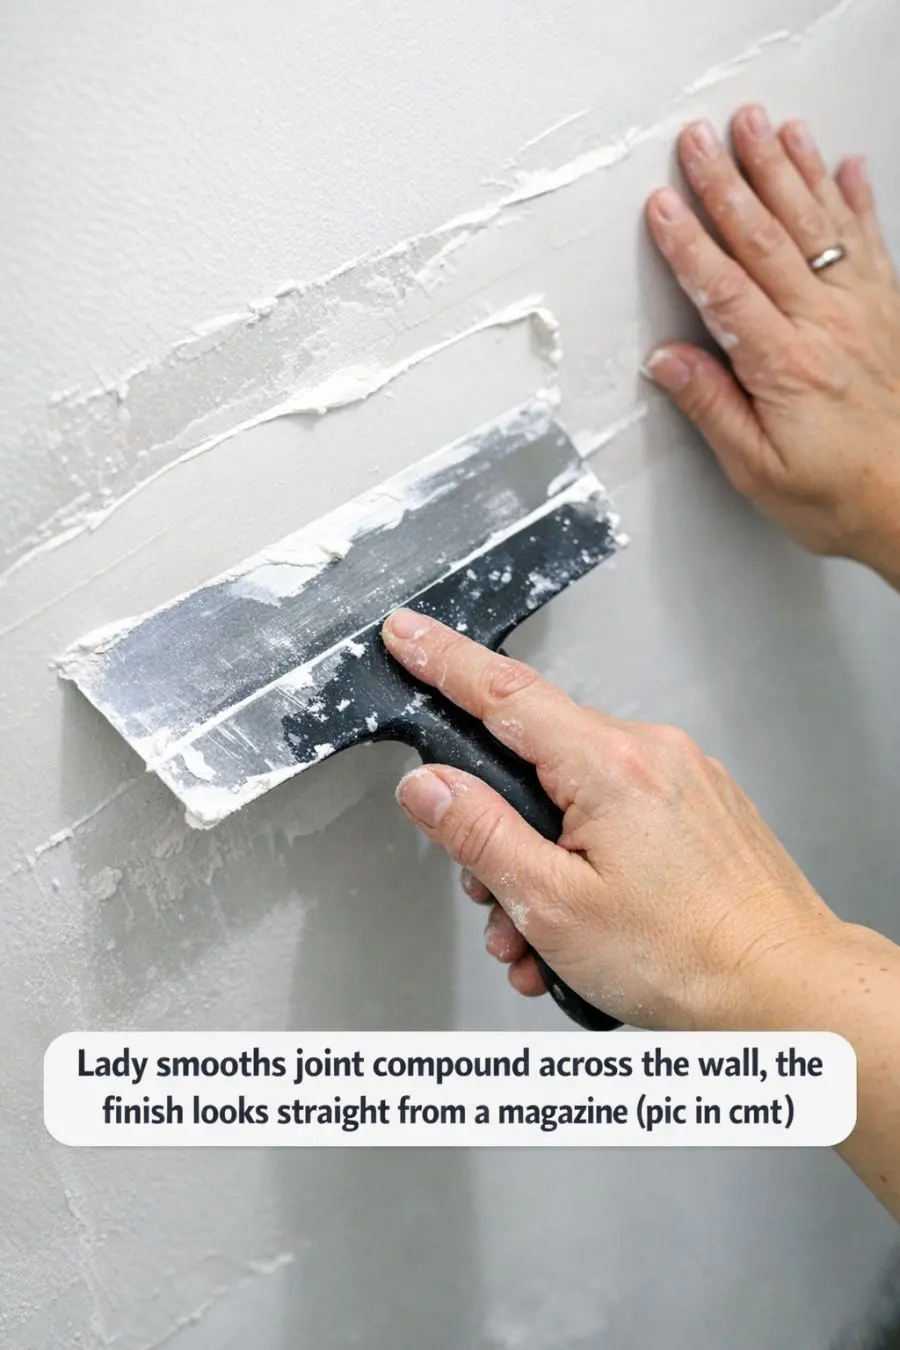
Transforming your walls can dramatically change the look and feel of your space, and one of the most effective ways to achieve a modern and sophisticated look is by creating a plaster accent wall. By smoothing joint compound across the wall, you can achieve a finish that looks as if it was pulled straight from the pages of an interior design magazine. This technique is not only affordable but also allows for a high level of customization, making it a popular choice for homeowners looking to refresh their interiors.
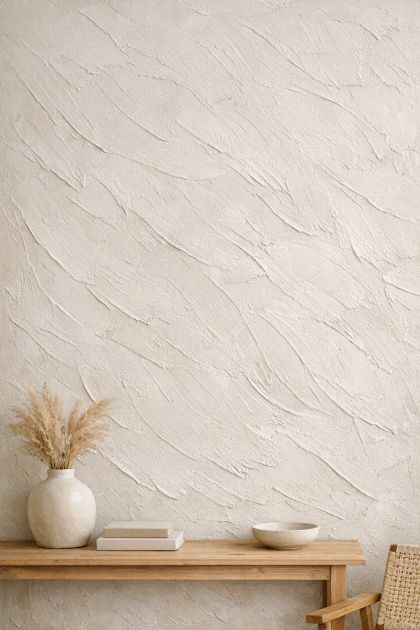
A plaster accent wall serves as a stunning focal point in any room, adding texture and depth. It’s perfect for living rooms, bedrooms, or even dining areas where you want to make a bold statement. Pair it with minimalist furniture and neutral tones to let the wall shine, or use it as a backdrop for colorful art and vibrant accessories. The subtle texture of the plaster complements both modern and rustic styles, offering a versatile option for various interior design themes.
DIY Plaster Accent Wall from Smoothing Joint Compound
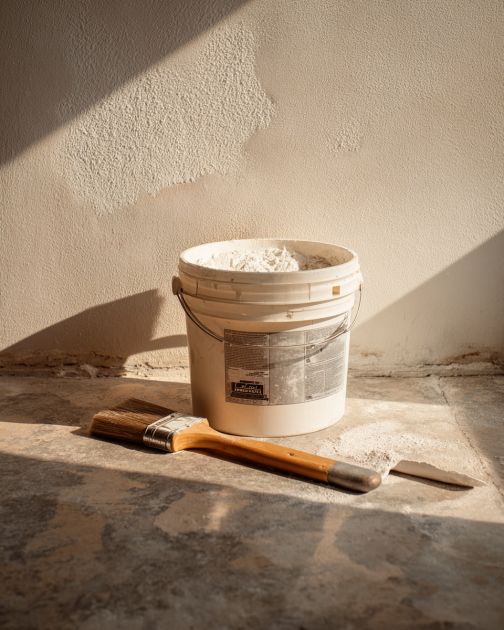
Materials
Joint compound (5-gallon bucket)
Putty knife or taping knife
Trowel
Sandpaper (220 grit)
Drop cloths
Painter’s tape
Primer (optional)
Paint (optional)
Paint roller (optional)
Directions
Start by preparing the wall. Remove any nails, screws, or other protrusions, and clean the surface to ensure it’s free from dust and debris.
Lay down drop cloths to protect your floors and use painter’s tape to cover any edges or areas you don’t want to get compound on.
Using a putty knife, apply a thin layer of joint compound to the wall. Work in small sections to ensure even coverage.
Switch to a trowel to smooth the compound across the wall. Vary the pressure and direction to create texture as desired.
Allow the compound to dry completely, which usually takes about 24 hours depending on the thickness.
Once dry, lightly sand the surface using 220-grit sandpaper to achieve the desired smoothness. Wipe away any dust with a damp cloth.
If you wish to paint the wall, apply a primer first for better adhesion, then proceed with your chosen paint color using a roller for even coverage.
Let the paint dry thoroughly before removing any painter’s tape and cleaning up the workspace.
Variations & Tips
For a more dramatic look, consider adding pigments to the joint compound before application to create a colored plaster effect. You can also experiment with different textures by varying your trowel techniques, such as using circular motions for a swirled pattern or dragging the trowel for a linear effect. For added protection and a glossy finish, consider applying a clear coat sealer after painting. This DIY project can also be adapted for smaller areas, such as a fireplace surround or a feature nook, providing a versatile option for customizing your home.
