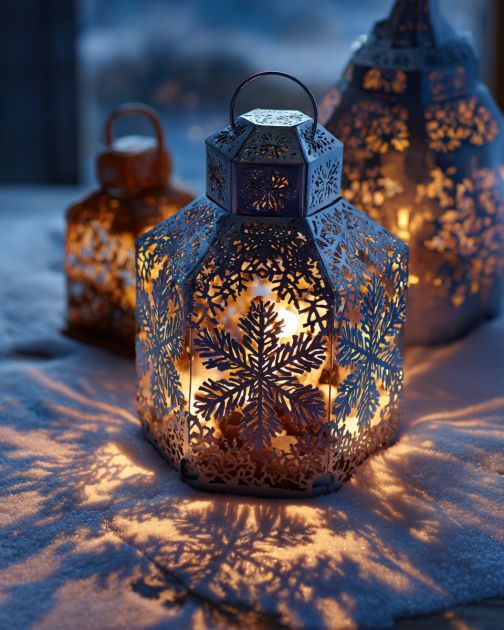
Transforming ordinary lanterns into magical snowflake shadow-cast pieces brings the ethereal beauty of winter indoors. By carving intricate snowflake patterns through metal lantern tops, you can create a stunning interplay of light and shadow. This DIY project offers a perfect way to add a whimsical and cozy touch to your home decor, especially during the winter months or the holiday season. The charm of these lanterns lies in their ability to project delicate snowflake patterns onto surrounding surfaces, creating a mesmerizing ambiance that can turn any space into a winter wonderland.
These snowflake shadow-cast lanterns can serve as enchanting focal points in various settings. Place them on a mantelpiece surrounded by evergreen branches and pinecones for a rustic holiday display. Alternatively, use them as table centerpieces for a cozy dinner setting, casting soft, intricate shadows that dance across the table. For a more contemporary look, incorporate them into a minimalist design by placing them on sleek, white shelves where their delicate patterns contrast beautifully with clean lines. Pair with warm, ambient lighting and plush textiles like faux fur throws and knitted cushions to enhance the cozy, inviting atmosphere.
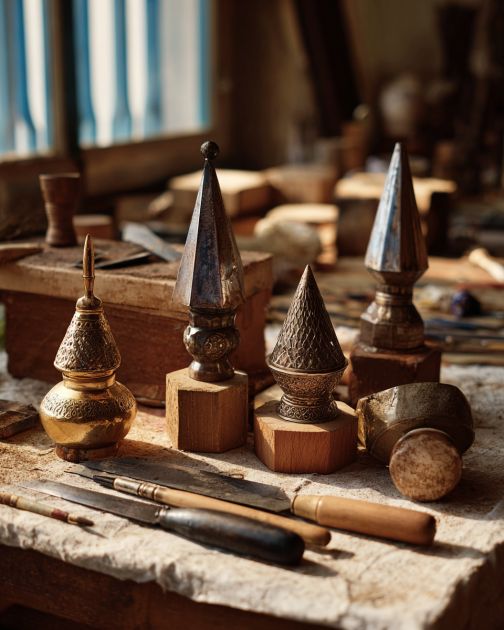
Snowflake Shadow-Cast Lantern Lids
Materials
Metal lanterns with removable lids
Metal carving tools or a rotary tool with metal cutting bits
Snowflake stencil or printed snowflake patterns
Tape
Protective gloves
Sandpaper (fine grit)
Spray paint (optional, in desired color)
LED tealight candles or fairy lights
Directions
Start by choosing a metal lantern with a removable lid, as this will make the carving process easier.
Select a snowflake pattern that you would like to carve. You can find stencils online or create your own design.
Secure the snowflake stencil onto the metal lid using tape, ensuring it is positioned correctly and won’t shift during carving.
Put on protective gloves and use a metal carving tool or a rotary tool with suitable bits to carefully carve out the snowflake pattern on the lid. Take your time to ensure precision and detail.
Once you have finished carving, use fine-grit sandpaper to smooth any rough edges or burrs around the cut-out areas.
If desired, spray paint the lid in a color of your choice. Ensure to cover the carved areas to maintain their defined edges. Allow the paint to dry completely.
Reattach the lid to the lantern and place an LED tealight candle or fairy lights inside to illuminate the snowflake patterns.
Position the lantern in your desired location, turn on the lights, and enjoy the magical shadow-cast effect.
Variations & Tips
To add variety to your lantern collection, consider experimenting with different snowflake designs, ranging from simple geometric shapes to more elaborate, lace-like patterns. You can also play with the color of the lanterns by using different spray paint finishes, such as metallics or matte shades, to suit your decor style. For a more personalized touch, incorporate other seasonal motifs alongside the snowflakes, like stars or evergreen sprigs. Additionally, using color-changing LED lights can enhance the magical effect, allowing the shadows to shift in hues and create an even more dynamic display.
