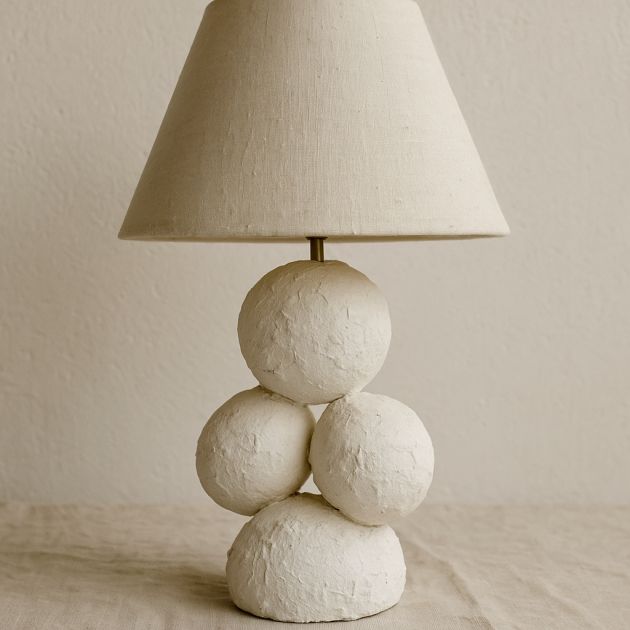
Creating a DIY organic lamp base using plaster-coated balloons is a trending home decor idea. This project offers a unique and artistic way to bring a touch of nature-inspired design into your living space. The organic forms created by the balloons provide a bespoke piece that can seamlessly fit into any modern or bohemian interior. This DIY is not only cost-effective but also allows for a high degree of personalization, making it an appealing project for those looking to express their creativity and craft a one-of-a-kind home decor item.
This DIY organic lamp base can be styled as part of a minimalist or rustic interior design. Pair it with a neutral-colored lampshade to enhance its natural appeal. Its textured surface and organic shape make it an ideal centerpiece on a side table or console. Consider placing it in a room with earthy tones, natural wood furniture, and lush greenery to create a harmonious and calming atmosphere. The lamp base’s unique shape will also complement modern art pieces and can serve as a conversation starter in any room.
Organic Plaster Balloon Lamp Base
Materials
Balloons (various sizes)
Plaster of Paris (2 lbs)
Water (as per plaster instructions)
Paintbrush
Sandpaper (medium to fine grit)
Lamp kit
Lamp shade
Drop cloth or protective covering
Mixing bowl
Plastic wrap
Directions
Cover your workspace with a drop cloth to protect surfaces.
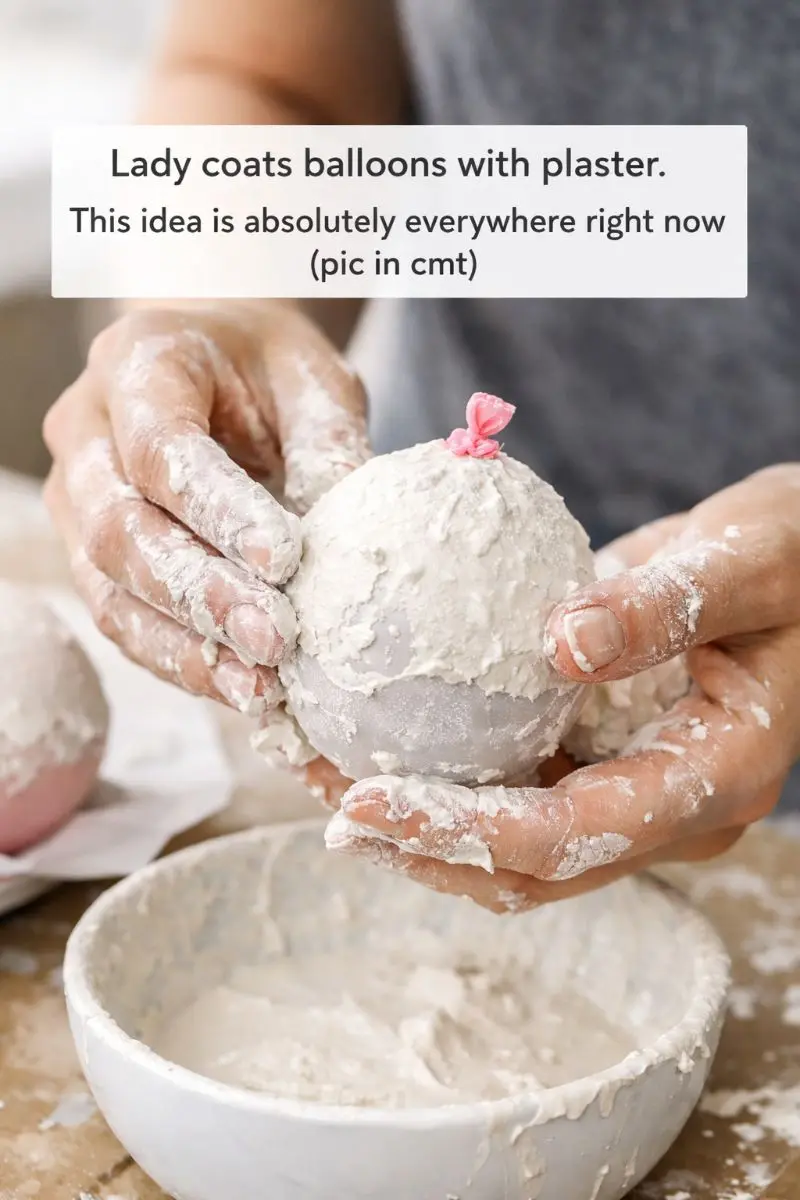
Inflate balloons to various sizes to create different organic shapes.
Mix the Plaster of Paris with water according to the package instructions in a mixing bowl.
Dip the paintbrush into the plaster mixture and apply a coat over the surface of the balloons. Allow to dry slightly.
Apply additional coats of plaster, allowing each layer to dry in between, until the desired thickness and texture are achieved.
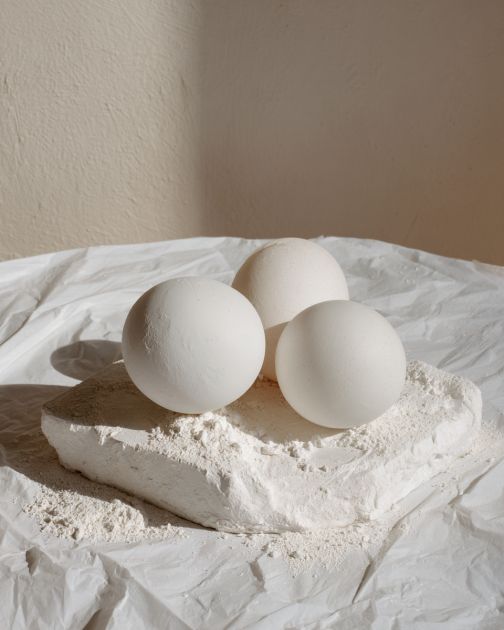
Once completely dry, gently pop the balloons and remove any remaining latex.
Use sandpaper to smooth out any rough edges or imperfections on the plaster forms.
Wrap the base of the lamp kit with plastic wrap, position it in the desired location on the plaster form, and secure it in place.
Attach the lamp shade to the lamp kit.
Finally, place the lamp in your desired location and enjoy the unique organic aesthetic it brings to your space.
Variations & Tips
To add a personal touch to your lamp base, consider experimenting with different shapes and sizes of balloons to create diverse organic structures. You can also mix in natural materials like sand or small pebbles into the plaster for added texture. For color, consider painting the dried plaster with a wash of watered-down acrylic paint in earthy tones or metallics to match your interior decor. Another variation is to create a multi-tiered lamp base by stacking smaller plaster forms atop a larger one, secured with a strong adhesive. This allows for even more creative expression and customization.
