Creating your own textured wall art is an excellent way to personalize your space and express your artistic side. This DIY project involves drizzling hot glue onto cardboard to create a stunning piece of art that brings depth and dimension to any room. It is a cost-effective and fun way to design unique decor that reflects your personal style without breaking the bank. With just a few simple materials, you can craft something truly eye-catching and unexpected.
This DIY textured wall art can be styled in various ways to match your home decor. For a modern and minimalist look, choose neutral colors and simple patterns. If you’re aiming for a more eclectic or bohemian vibe, experiment with vibrant colors and intricate designs. Hang the artwork as a focal point above a sofa, bed, or mantel. You can even create a gallery wall by pairing it with framed photos or other artwork. Consider the room’s color scheme and how the texture of the piece will complement or contrast with other elements in the space.
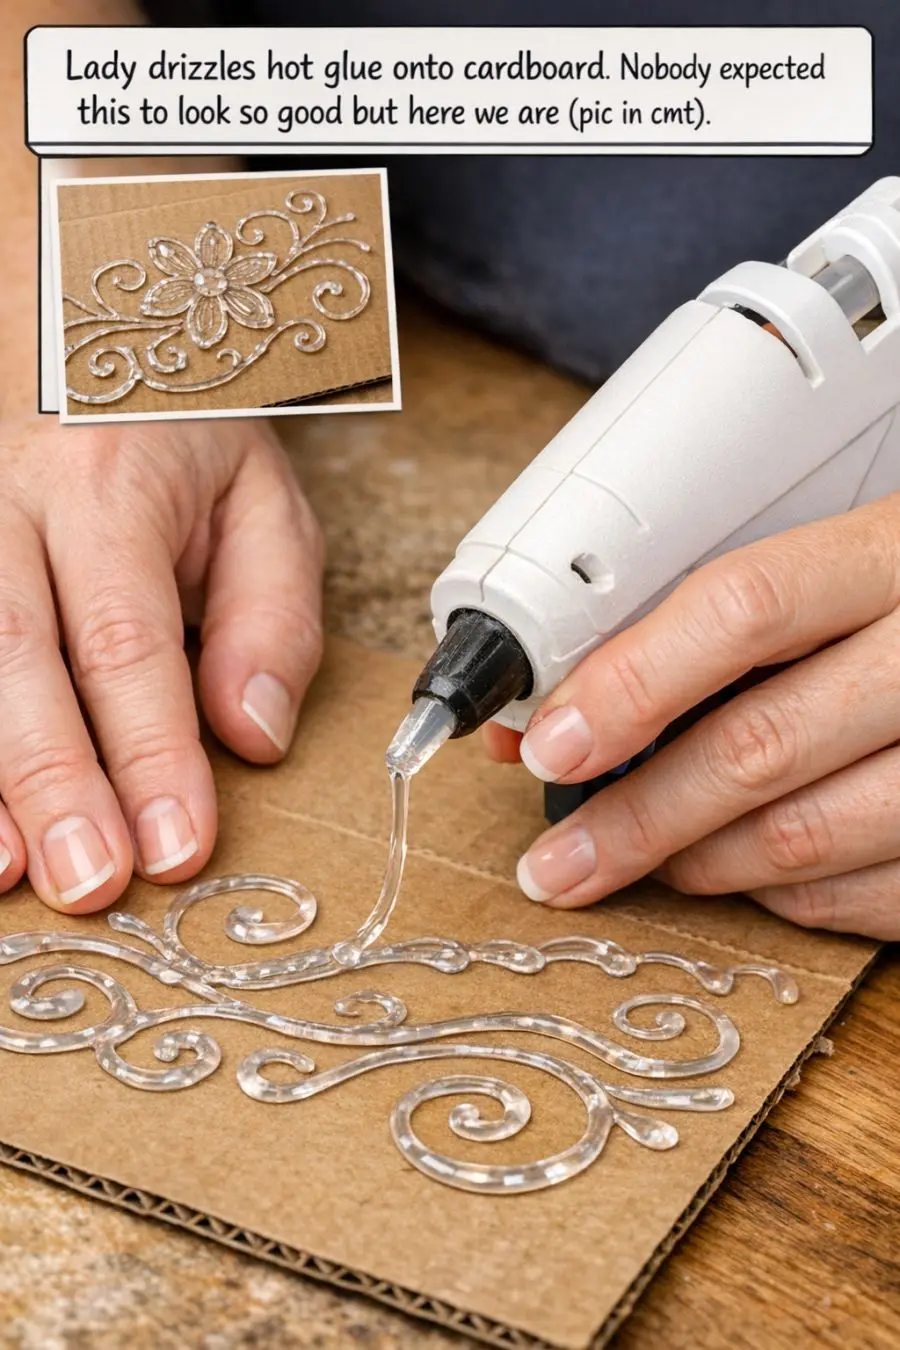
DIY Textured Wall Art with Hot Glue
Materials
Cardboard (size depending on desired art size)
Hot glue gun
Hot glue sticks
Acrylic paint (colors of choice)
Paintbrushes
Picture hanging kit or adhesive hooks
Primer (optional, for cardboard)
Protective sheet or newspaper (to cover work surface)
Directions
Prepare your workspace by laying down a protective sheet or newspaper to catch any glue drips or paint spills.
Cut the cardboard to your desired size, keeping in mind where you intend to hang the final piece.
If desired, apply a layer of primer to the cardboard to seal it and allow for better paint adhesion later.
Heat up the hot glue gun and begin to drizzle the glue onto the cardboard in your chosen pattern. You can create abstract designs, geometric shapes, or even write words.
Allow the hot glue to cool and harden completely before moving on to the painting step.
Once the glue is set, use acrylic paints to color the cardboard and glue. You can paint the entire piece one color for a uniform look or use multiple colors for a more dynamic effect.
Let the paint dry thoroughly. Depending on the thickness of the paint, this may take several hours.
Attach the picture hanging kit or adhesive hooks to the back of the cardboard.
Hang your new textured wall art in your chosen space and enjoy the unique addition to your decor.
Variations & Tips
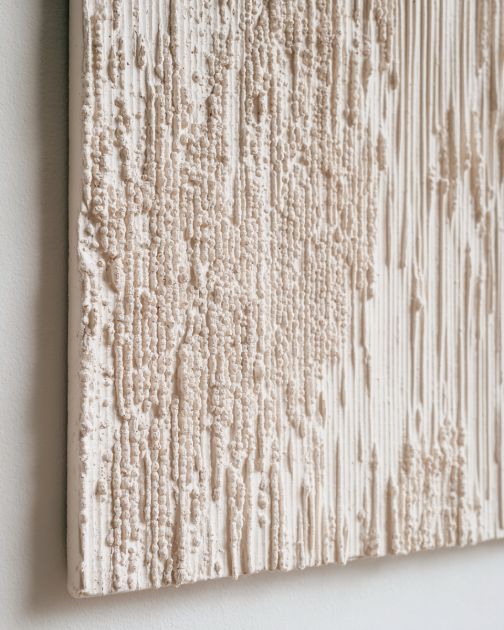
For a more varied texture, consider adding other materials like sand or small beads to the wet glue before it sets. This can create a more tactile surface and add additional visual interest. You can also experiment with metallic paints for a glamorous, reflective finish or use a sponge to dab on paint for a softer, more diffused look. If you prefer a more structured design, use stencils to guide your glue application. This DIY is highly customizable, so don’t hesitate to experiment with different techniques and materials to achieve the look you desire.
