
Transforming an old mirror into a chic chalkboard is a brilliant way to upcycle a thrifted find into something both functional and stylish. This DIY project is perfect for those who love to add a personal touch to their home decor while also being environmentally conscious. A chalkboard can serve as a creative outlet for daily doodles, a practical space for reminders, or an elegant menu board for your next dinner party. The beauty of this project lies in its simplicity and the endless possibilities it offers for customization.
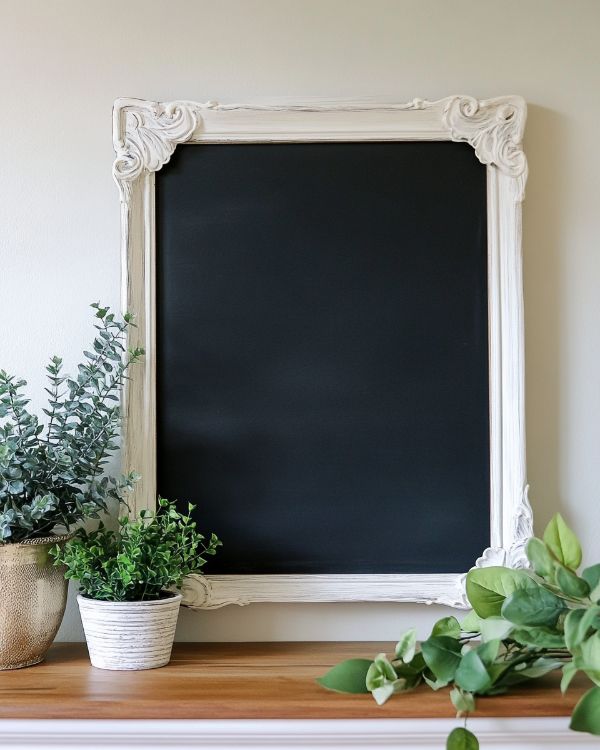
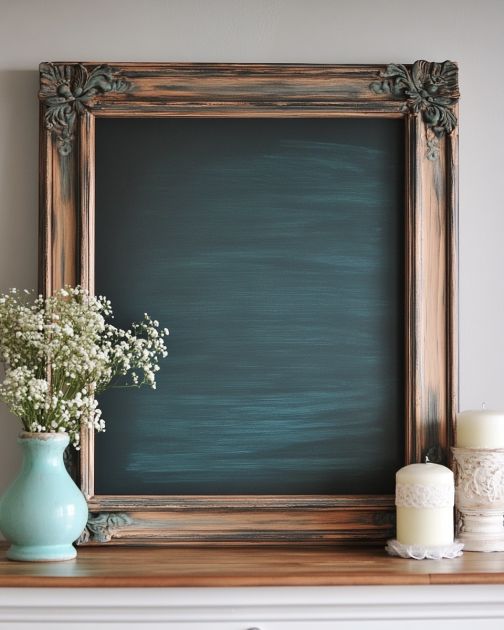
This DIY chalkboard can be styled in various ways to complement your home decor. For a rustic look, pair it with wooden furniture and earthy tones. If you prefer a modern aesthetic, consider painting the frame in a sleek metallic color and placing it in a minimalist setting. You can hang it in the kitchen for grocery lists, in the entryway for welcome messages, or even in a child’s room as a fun drawing space. The key is to ensure it complements the existing color palette and style of the room.
DIY Chalkboard from a Thrifted Mirror
Materials
Old mirror with frame (any size)
Chalkboard paint (enough to cover the mirror surface)
Painter’s tape
Sandpaper (medium grit)
Paintbrush or foam roller
Drop cloth or old newspaper
Optional: Paint for the frame
Directions
Start by cleaning the mirror thoroughly to remove any dust or grime.
Use painter’s tape to cover the edges of the mirror frame to protect it from the chalkboard paint.
Lightly sand the surface of the mirror with medium-grit sandpaper to help the paint adhere better.
Lay down a drop cloth or old newspaper to protect your work area.
Apply a coat of chalkboard paint to the mirror using a paintbrush or foam roller. Follow the manufacturer’s instructions for drying times.
Once the first coat is dry, apply a second coat for even coverage.
While the chalkboard paint is drying, you can paint the frame if desired. Choose a color that complements your home decor.
Allow the chalkboard paint and frame paint to dry completely as per the instructions on the paint cans.
Remove the painter’s tape carefully from the edges of the frame.
Condition the chalkboard by rubbing a piece of chalk over the entire surface and then wiping it off with a dry cloth. This will prevent future writing from leaving permanent marks.
Final Looks
Variations & Tips
For a more vintage look, consider distressing the frame with sandpaper after painting it. You can also use stencils to add decorative elements or words around the frame. If you have a larger mirror, you can divide the chalkboard into sections using painter’s tape to create a calendar or planner. For a more interactive piece, attach small hooks or a basket to the bottom of the frame to hold chalk and erasers. This DIY project is highly customizable, so feel free to experiment with different colors and finishes to suit your personal taste.
